+32 460 23 96 44

On this page
- Understanding the Importance of 3D Modeling in Jewelry Design
- Key Steps for Successful 3D Jewelry Design
- 1. Start with a Clear Concept
- 2. Choose the Right 3D Modeling Software
- Common Mistakes to Avoid in Jewelry 3D Modeling
- Conclusion: Mastering the Art of 3D Jewelry Modeling
- Get the Accurate 3D Jewelry Models for your business!!
Creating 3D models for jewelry design has revolutionized the industry, offering designers unparalleled precision, efficiency, and flexibility. The process of turning an idea into a tangible piece of jewelry requires a combination of artistic vision and technical expertise. To ensure that the final design not only meets but exceeds expectations, it is essential to follow best practices in the creation of 3D models for jewelry. This article outlines the key steps and considerations to achieve optimal results in 3D Modeling for jewelry.
Understanding the Importance of 3D Modeling in Jewelry Design
3D modeling has transformed how jewelers design and create jewelry. From conceptual sketches to intricate detailing, 3D models allow designers to experiment, visualize, and refine their ideas before committing to the production process. By using advanced software like Rhino, Matrix, and ZBrush, designers can create hyper-realistic models that can be printed, tested, and modified in a fraction of the time it would take using traditional methods.
The major benefits of using 3D Jewelry Model includes:
Speed: Quick iterations and easy adjustments to designs.
Precision: High accuracy in dimensions and proportions.
Visualization: Realistic renderings help both designers and clients visualize the final piece before manufacturing.Customization: 3D models allow for easy customization of designs to meet client specifications.
Key Steps for Successful 3D Jewelry Design
1. Start with a Clear Concept
Before beginning the 3D Modeling for Jewelry process, a clear vision of the jewelry piece is essential. This concept can be based on sketches, inspiration from existing designs, or customer preferences. Ensuring that the idea is well-defined helps guide the modeling process and ensures that the end result aligns with the designer’s vision.
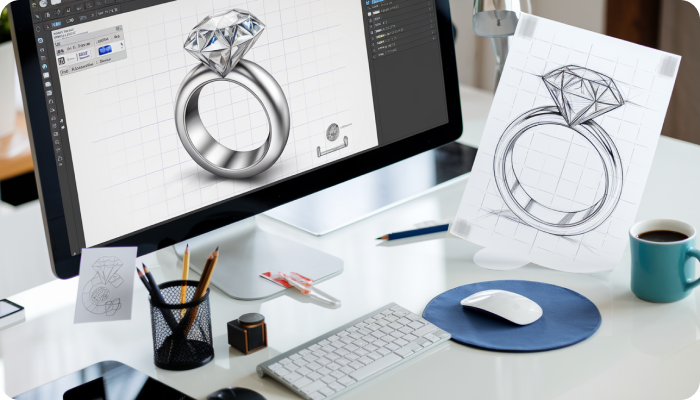
Sketching the Concept: A simple hand-drawn sketch or rough idea can serve as a blueprint for the 3D model. Having an initial design in mind helps streamline the process and provides a reference for the model’s dimensions and structure.
Client Input: When designing custom jewelry, gathering specific input from clients regarding their preferences, style, and budget is crucial. This feedback will influence the final design and 3D model.
2. Choose the Right 3D Modeling Software
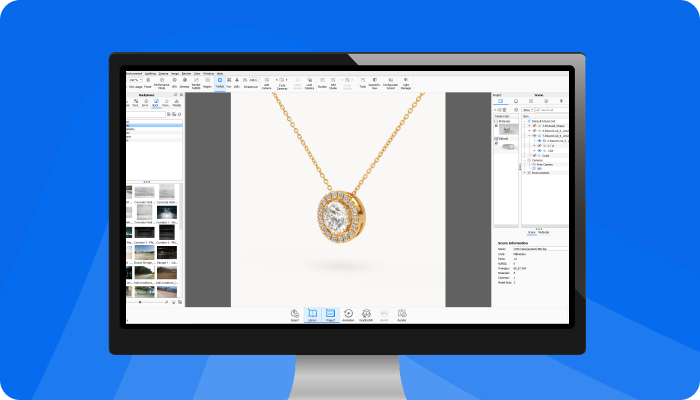
Selecting the appropriate 3D jewelry modeling software is a critical step in the jewelry design process. The software must be capable of creating intricate details while being intuitive and easy to use. Some of the most popular 3D modeling programs for jewelry design include:
Rhino: Known for its versatility and precision, Rhino is one of the most widely used software programs for creating 3D jewelry designs. Its robust set of tools is ideal for creating complex and highly detailed models.
Matrix: A plugin for Rhino, Matrix is specifically designed for the jewelry industry and offers additional features for customizing ring bands, settings, and other jewelry components.
ZBrush: While ZBrush is typically used for organic designs and sculptures, it is becoming increasingly popular in jewelry design due to its high level of detail and ability to handle intricate textures
3. Create the 3D Model with Precision
Once the design concept is clear and the right software is chosen, it’s time to start creating the 3D model. This stage requires attention to detail, as even minor imperfections can impact the final product. Here are some tips for creating a high-quality 3D jewelry models:
Start with Basic Geometry: Begin by building the basic shapes that make up the jewelry piece, such as rings, pendants, or bracelets. From there, you can refine and add intricate details.
Work in Layers: Working in layers allows you to easily modify individual elements of the design. If any part of the model needs adjustment, doing so without disrupting the entire structure is much easier.
Ensure Proper Proportions: Accurate proportions are key to ensuring that the jewelry piece fits well and looks aesthetically pleasing. Use reference points, such as industry-standard measurements, to guide the modeling process.
4. Focus on Detail and Texture
Jewelry is all about fine details, and the 3D model must reflect that. Pay special attention to the small elements that make the piece unique, such as prongs, engravings, and textures.
Engravings and Settings: These details can be added as textures or 3D sculpted features in the model. Properly scaling and positioning these details ensures the functionality of the piece during production.
Textures: Adding textures such as smooth finishes, matte surfaces, or stone settings can make the model more realistic and help visualize how the piece will appear in real life.
5. Test the Model with Virtual Renderings
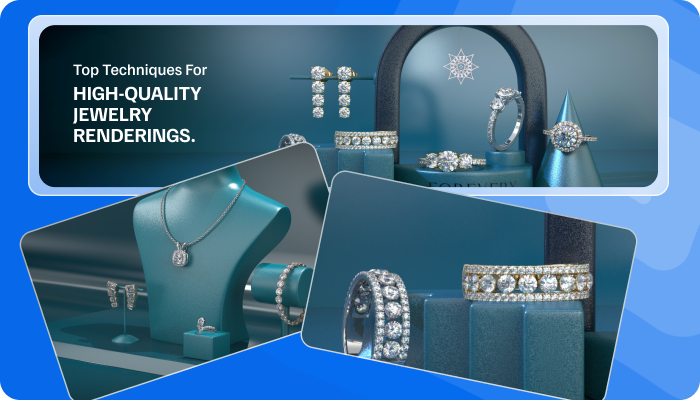
Once the 3D model is complete, it's time to test it through virtual renderings. These renderings allow designers and clients to visualize the final product in a hyper-realistic manner before committing to manufacturing.
Lighting and Environment: When rendering the 3D model, simulate the lighting conditions under which the piece will be viewed, such as daylight, indoor lighting, or spotlights. This helps to visualize how the jewelry will look in various settings.
Client Feedback: Virtual renderings are an excellent tool for obtaining client feedback. Clients can see the piece in high detail, and any changes can be made before moving to the production phase.
6. Prepare for 3D Printing and Production
Once the 3D model is approved and finalized, it is time to prepare for 3D printing or other forms of prototyping. A few things to keep in mind:
Exporting the Model: The model must be exported in a file format compatible with 3D printing, such as STL or OBJ. Ensure that the file is free of errors and is properly scaled.
Prototyping: Some designers choose to create a physical prototype of the model before proceeding with the final production. This allows for testing the fit, feel, and overall look of the jewelry piece.
Material Considerations: The type of material used for the prototype (wax, resin, or metal) can affect the final appearance and feel of the piece. Choose a material that reflects the intended final product.
Common Mistakes to Avoid in Jewelry 3D Modeling
While the process of creating 3D jewelry models is relatively straightforward, there are some common pitfalls that designers should avoid to ensure a smooth and successful outcome:
1. Neglecting the Manufacturing Process
Designing with the assumption that the model can be easily manufactured without considering practical aspects such as material constraints or production methods can result in an impractical or costly design. Always keep the manufacturing process in mind when creating the model.
2. Overcomplicating the Design
While jewelry is all about intricate details, overcomplicating the design can make the piece difficult to manufacture or prone to damage. Balance is key. Strive for a design that combines creativity with practicality.
3. Ignoring Wearability and Comfort
While creating a beautiful design, don’t forget about the wearability of the jewelry piece. A well-designed model should fit comfortably and feel good when worn. Pay attention to ergonomics and the placement of prongs and settings.
Conclusion: Mastering the Art of 3D Jewelry Modeling
Creating 3D models for jewelry design is a powerful tool that can streamline the design process and elevate the quality of the final piece. By following best practices such as starting with a clear concept, selecting the right software, focusing on precision, and incorporating realistic textures and details, designers can create high-quality 3D models that translate into exceptional finished jewelry. Additionally, avoiding common mistakes and taking into account the manufacturing process will ensure that the design is both beautiful and practical.
By mastering the art of 3D modeling, jewelry designers can unlock a new realm of possibilities, offering their clients personalized, high-quality pieces that are not only visually stunning but also practical and durable.
Get the Accurate 3D Jewelry Models for your business!!
If you’re in the jewelry business and looking to stand out, JewelExperts.com offers the perfect solution — 3D Jewelry Design Services that take your product visuals to the next level.
Instead of relying on traditional photography, JewelExperts. com transforms your jewelry ideas into stunning, photo-realistic renderings using advanced 3D modeling and rendering technology. These aren't just digital mock-ups; they’re so lifelike that your customers will find it hard to tell whether it's a photo or a digital creation.
Why switch to 3D jewelry rendering?
Higher conversion rates: Studies show that high-quality 3D renderings can increase online conversion rates by up to 30% compared to standard images.
Unmatched detail: Customers can view every angle and intricate design element — something that’s often missed in regular product photos.
Improved trust: A clear, detailed view makes your website feel more transparent and trustworthy — helping customers feel safe while shopping from their couch.
New Clients: 10% Off Your First Project
Turn your jewelry designs into stunning, photo-realistic visuals with our expert 3D jewelry modeling and rendering services. Don’t miss this offer, valid on your first project!
Leave your email address to claim your 10% discount and take your jewelry business to the next level today.