+32 460 23 96 44

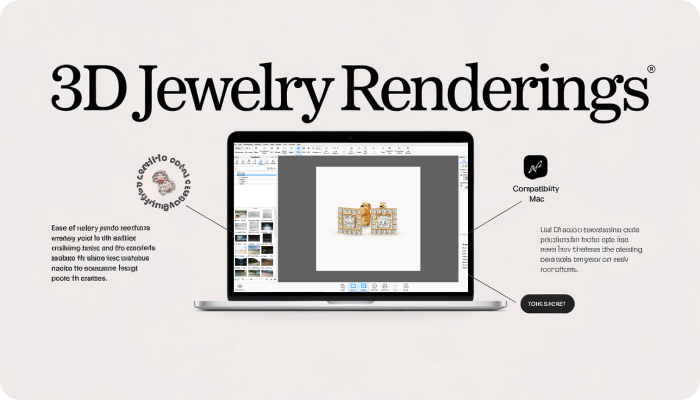
Creating photo-realistic 3D renderings for jewelry is not only an art, but a technical process that demands attention to detail, mastery of lighting, materials, and an understanding of how real jewelry interacts with its surroundings. In this comprehensive guide, we’ll share practical, in-depth tips to help you produce jewelry 3D Jewelry Rendering that closely mimics real-life photography.
What is 3D Jewelry Rendering?
3D jewelry renderingis the process of creating photorealistic digital images of jewelry using specialized software. These images are generated from 3D models, which are meticulously designed to replicate real-world proportions, materials, and lighting conditions. These visuals simulate lighting, textures, reflections, and refractions to produce visuals indistinguishable from real photography—without the need for physical prototypes.
Key Components of the Rendering Process
3D Modeling: Building an accurate digital model of the jewelry piece.
Texturing and Materials: Applying realistic metal and gemstone textures.
Lighting Setup: Mimicking studio conditions for professional visuals.
Camera Angles and Composition: Crafting persuasive views for marketing.
Post-Production: Final touch-ups to enhance realism.
Key Benefits of 3D Jewelry Rendering Services
1. Unmatched Photorealism - High-end rendering simulates light behavior, metal finishes, gemstone refraction, and surface imperfections, resulting in images virtually indistinguishable from real photography.
2. Cost Efficiency - Eliminates the need for physical prototypes and costly photoshoots. A single model can produce infinite visuals across angles, variants, and backgrounds.
3. Speed to Market - With digital rendering, new collections can be visualized and launched faster—crucial for seasonal or trend-based marketing strategies.
4. Customization and Personalization - Clients can view their customizations in real-time. Different gemstones, settings, and metal choices can be previewed instantly.
Unique Tips to Make Jewelry 3D Renders Look Like Real Photos
Once you have a complete understanding of 3D rendering, it’s time to implement a few important steps to make your 3D modeling & rendering a success. To help you achieve that, here are some tips to create realistic 3D jewelry renders.
Use HDRI Maps With Soft Shadows
Most people use HDRI (High Dynamic Range Images) for lighting, but the trick is to choose indoor HDRIs with soft, diffused light. It creates natural reflections on metal and stones without harsh shadows, making your render look like it was taken in a real studio.
Slightly Tilt the Jewelry
Don’t place your ring or pendant flat and straight. Instead, tilt it 5–10 degrees. This small angle gives depth and lets the light catch more edges, adding realism. Real product photographers use this technique all the time.
Use Depth of Field on Just One Element
Instead of blurring everything behind the subject, try this: focus only on a part of the ring, like a gemstone or a single prong. It draws the viewer’s eye naturally, just like a real photo does.
Add a Micro Surface Bump
Jewelry isn’t 100% smooth in real life. Add a very tiny bump or fingerprint texture to your metal surface (like 0.01–0.03 strength). It helps break the “CGI perfect look” and adds realism.
Slight Color Variation in Diamonds
Diamonds in real life have slight color shifts—they’re not pure white. Add a subtle blue, pink, or yellow tint (very minimal) to make them feel natural. This small touch can separate a fake-looking render from a photo-real one.
Don’t Use Pure White or Black Backgrounds
Pure white or pure black can make your jewelry look flat. Instead, use off-white, light grey, or soft gradient backgrounds. These help metal and stones pop without looking fake.
Simulate Finger Shadows Even Without a Model
Even if you’re not using a hand model, adding subtle shadow shapes near the jewelry (as if from fingers or a hand) creates depth and adds realism. It’s a trick that mimics how jewelry would cast shadows in real life.
Avoid Over-polished Surfaces
Too much shine makes jewelry look plastic. Try using semi-polished or brushed finishes on parts like the ring shank. It balances shine and gives it a more believable look.
Add a Ground Contact Shadow
Make sure your jewelry casts a soft shadow where it sits—a ground contact. This prevents that “floating” look and helps the object feel naturally placed.
Adapt Latest Trends in 3D Jewelry Rendering
1. Interactive 360° Product Views
Allow customers to rotate jewelry in real-time. Enhances trust and engagement in e-commerce.
2. AR & Virtual Try-Ons
Augmented reality lets users try rings or earrings on live through smartphones, blending digital rendering with AR SDKs.
3. NFTs and Digital Twins
3D renderings are used as digital twins for NFTs, securing proof of ownership for high-end custom pieces.
4. AI-Enhanced Rendering
AI is being used to speed up rendering and post-production tasks, enabling batch image generation with smart lighting presets.
Render Imperfect Symmetry
In real life, jewelry is handmade or cast, and small asymmetries (like slightly uneven prongs) exist. Instead of a perfect computer-generated symmetry, introduce minor irregularities—your render will look more realistic.
Choosing the Right 3D Jewelry Rendering Partner
If you’re feeling overwhelmed and don’t know how to begin mastering the art of creating stunning 3D renders, this is your sign to choose Jewelry CAD Designing Services. But before you pick one, consider a few important things
1. Expertise in Jewelry Modeling
Not all 3D artists understand the intricacies of jewelry. Choose a partner with proven experience in modeling prongs, pavé settings, and gemstone cuts.
2. Material Library and Shader Precision
Top studios offer proprietary libraries of realistic shaders—especially for 18K gold, platinum, diamonds, emeralds, and sapphires.
3. Studio vs. Freelancers
Studios often guarantee consistency, faster turnaround, and high-end post-processing. Freelancers may offer lower prices but at the cost of reliability.
4. Client Portfolio
Review past work across different jewelry types: rings, pendants, earrings, watches, and bracelets. Look for diversity and attention to detail.
Conclusion
Jewelry 3D rendering doesn't have to be difficult—even for beginners. The key is to focus on small, realistic touches: tiny shadows, material bumps, soft lighting, and natural-looking reflections. When you stop chasing “perfect” and aim for “real,” your renders instantly get better.
With these 10 tips and powerful answers to common questions, you now have a solid base to start making your own jewelry renders that look just like professional photos.
Make Your 3D Jewelry Renderings Look Realistic.
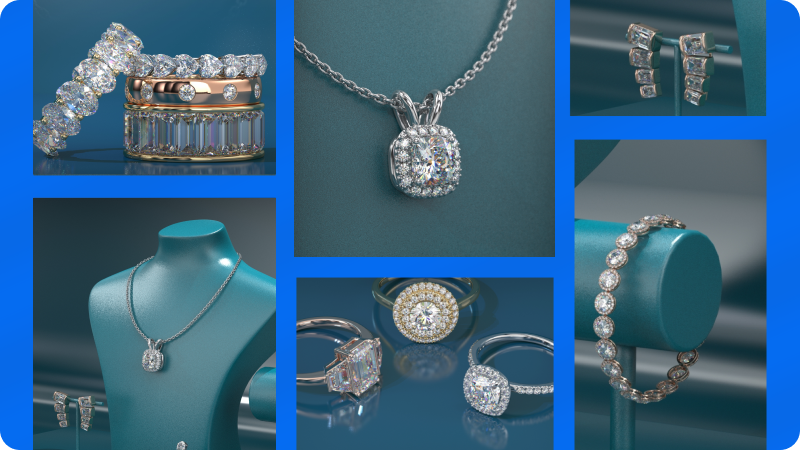
Want your jewelry designs to look as real online as they do in real life? Jewelexperts.com is here to help! We specialize in creating high-quality 3D renderings that bring your jewelry to life. Whether you’re launching a new collection or updating your website, our expert team can turn your ideas into stunning, professional visuals.
New Clients: 10% Off Your First Project
Transform your designs with photorealistic rendering and modeling services. Don’t miss this chance to save while boosting your brand’s image. Offer valid for a short time only—just leave your email to claim your discount!
Start today and elevate your jewelry business with visuals that truly shine.
Visit Jewelexperts.com and take your business to the next level.